O
OhMyGecko
Guest
Finally! Katelyn and I have our Castle for Nessie done airing and we went ahead and put the Castle in her tank.
With out further adue I give you "el castillo de las estrellas ,which means "The Castle Of The Stars"!
How to build a castle 101-
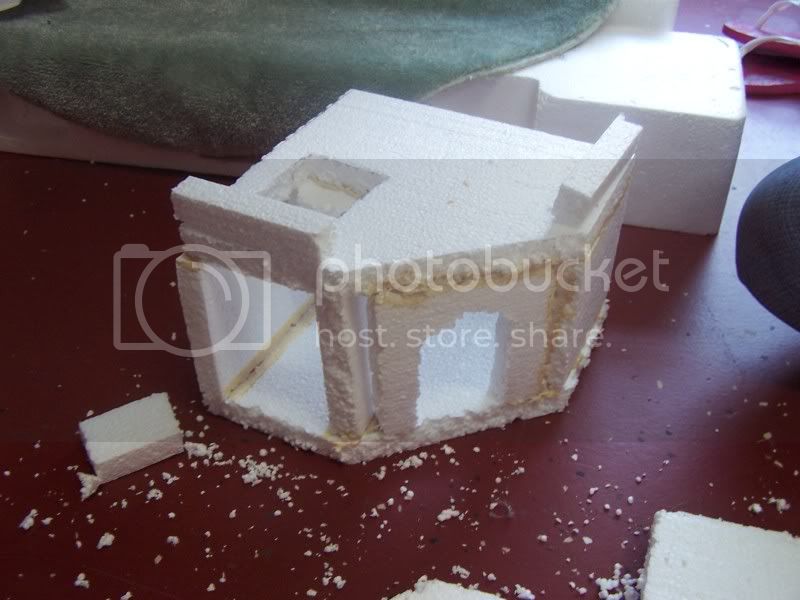
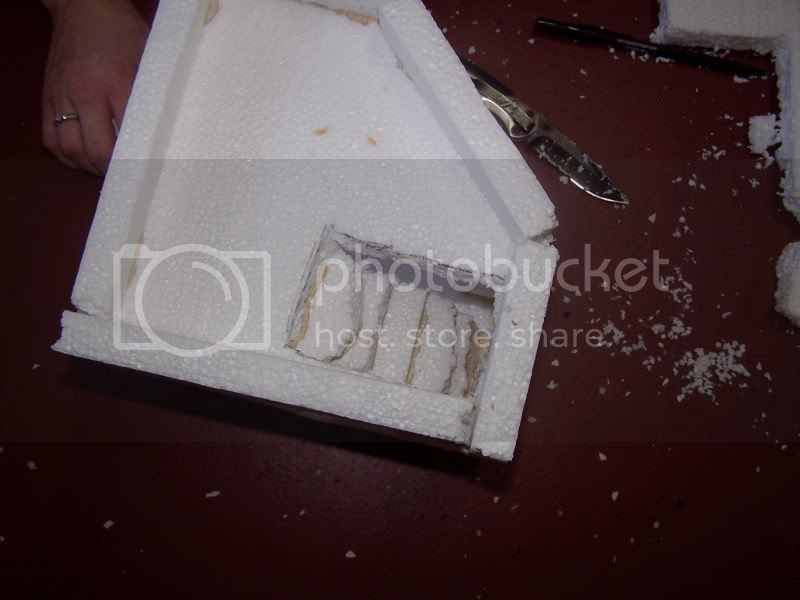
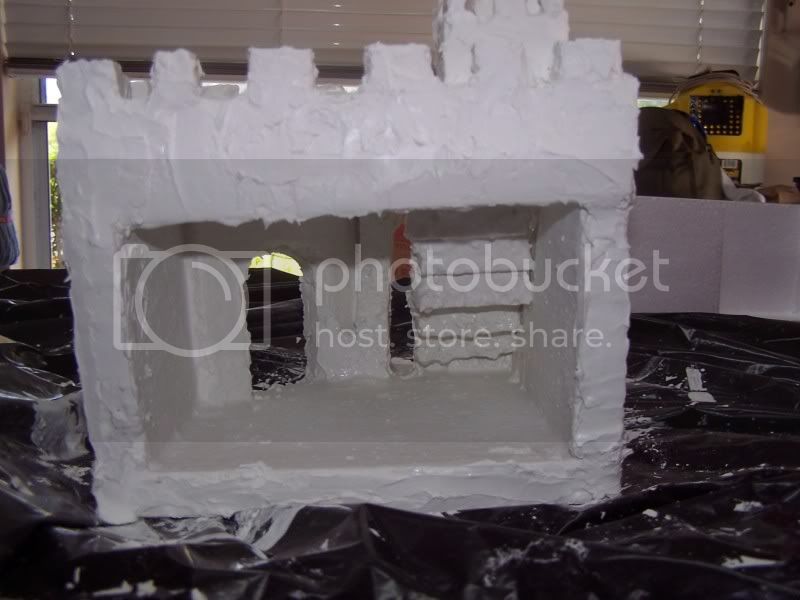
You will need Polystyrene aka styrafoam that you can find at home depot or lowes and liquid nails cawking to glue the pieces together. We first drew up our floor to fit the tank and then cut out 2 pieces of it (one for floor and one for the ceiling and then added 4 inch high walls. We made two openings, one for the stairs leading to the ceiling for a great view point when hunting and the other to her hide. We also cut pieces to fit the edges of the ceiling for the Merlins to fit on top.
Bare construction with Liquid nails. (go nuts with the liquid nails, you can't use to much).
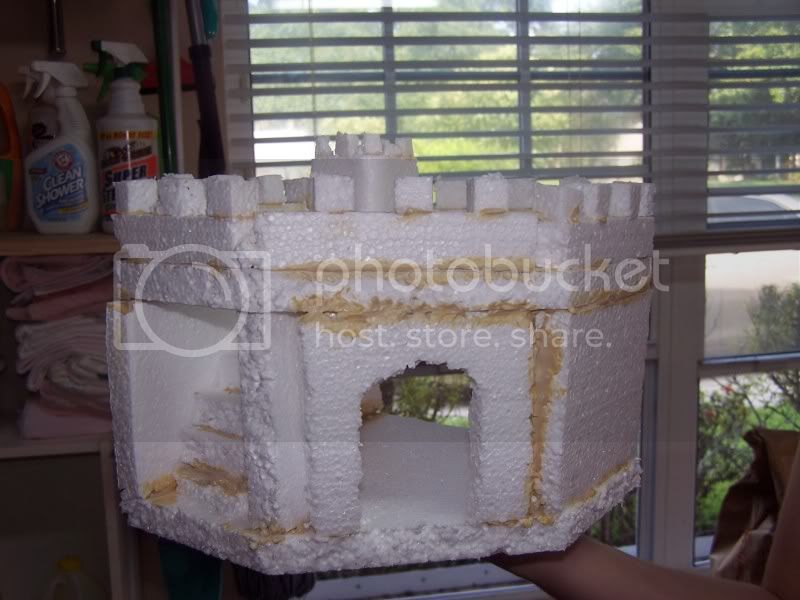
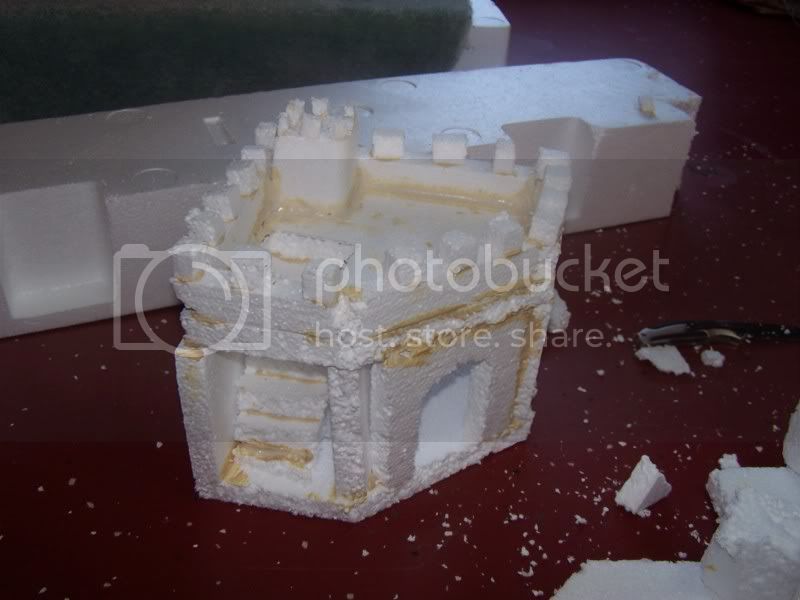
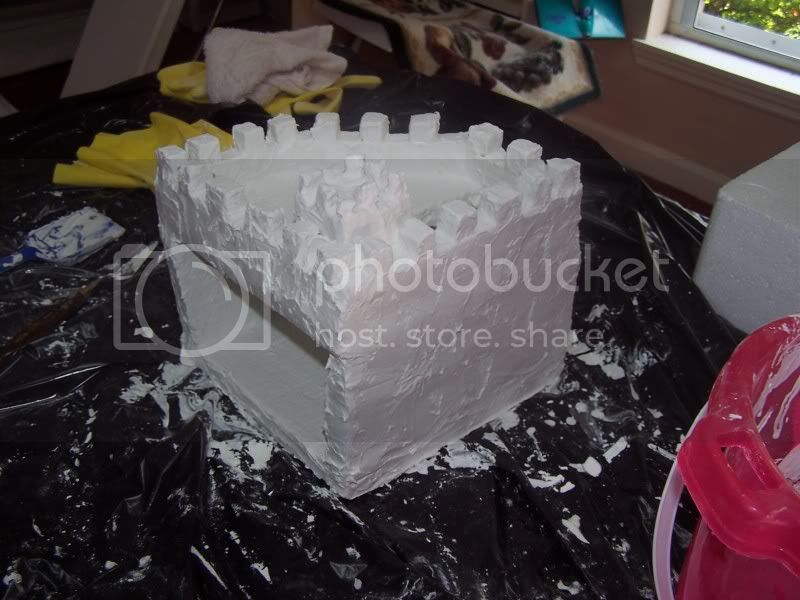
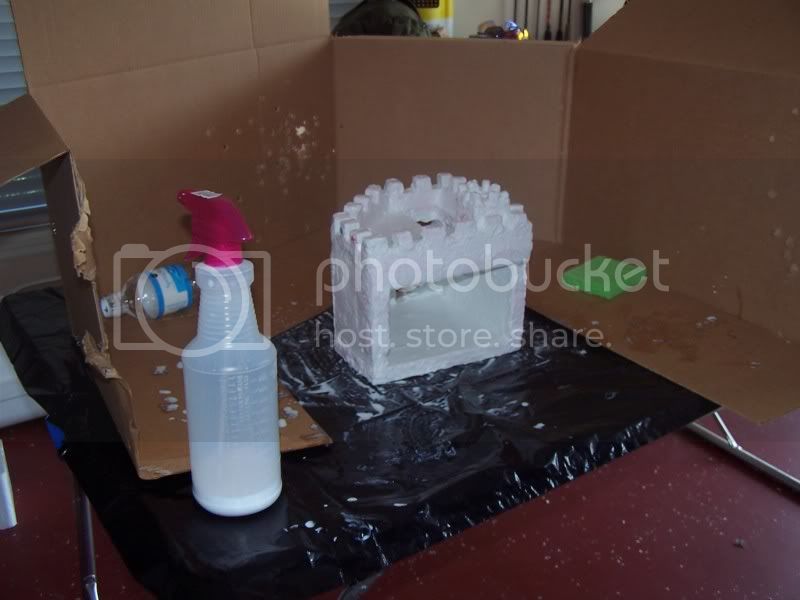
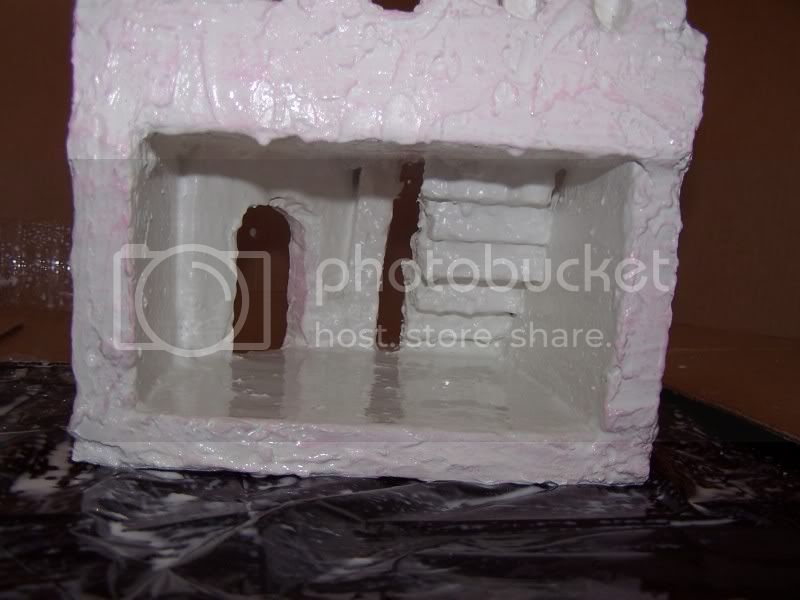
We let the Liquid nails dry for a few hours before starting the grouting process. We used a non-sanded Bright White grout ( you can use any color or add acrylic paint to get the color desired.) We first started off with a very watery grout mixture to get into all the small crevises. We applied 3 coats of a watery grout.
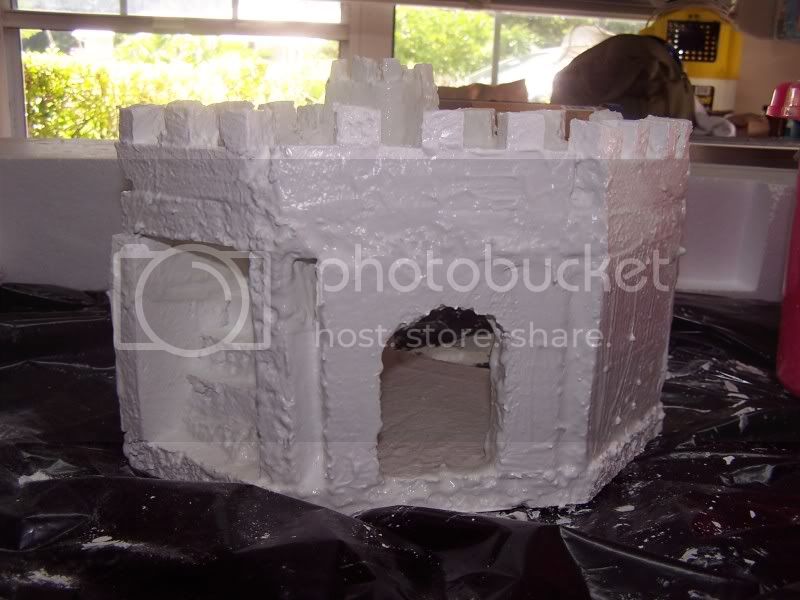
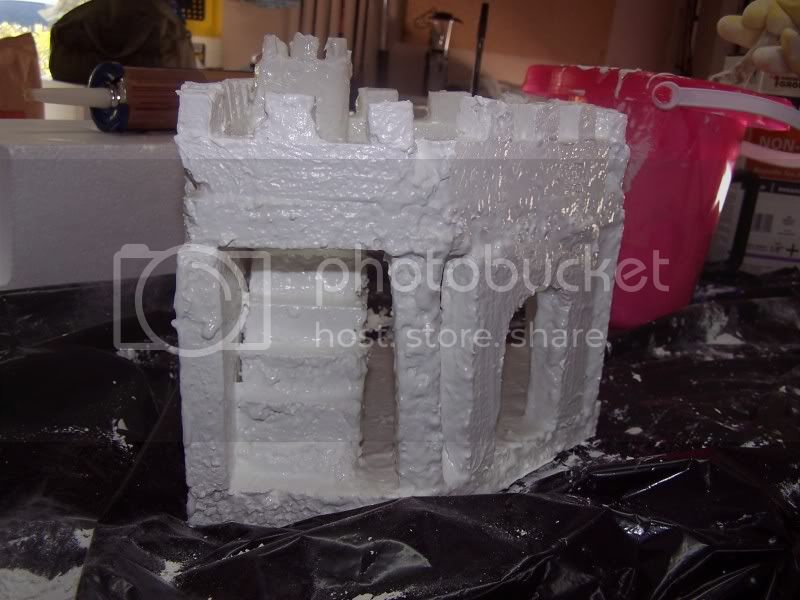
We then added 2 coats of thick grout to fill up any big gaps and to get rid of connecting lines from the styrofoam. At this point you can start added texture and layering really thick grout to areas you want for added looks.
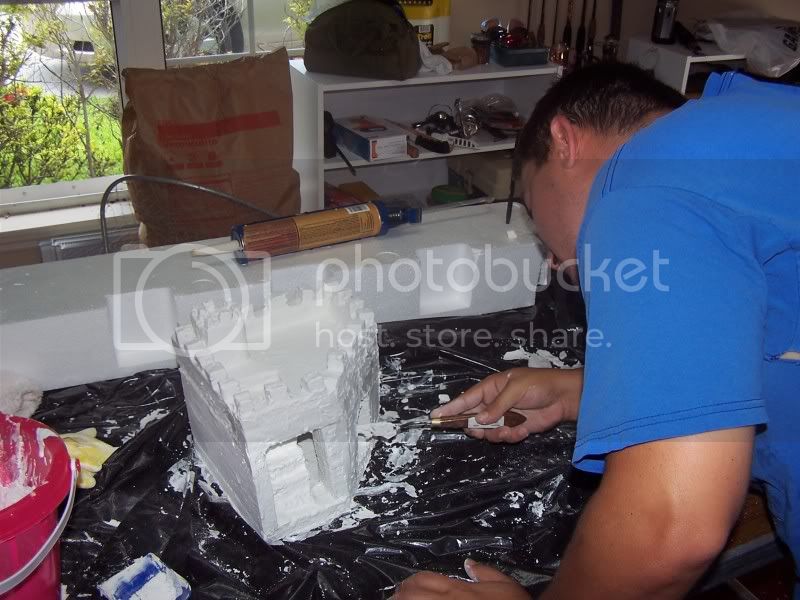
There I am.
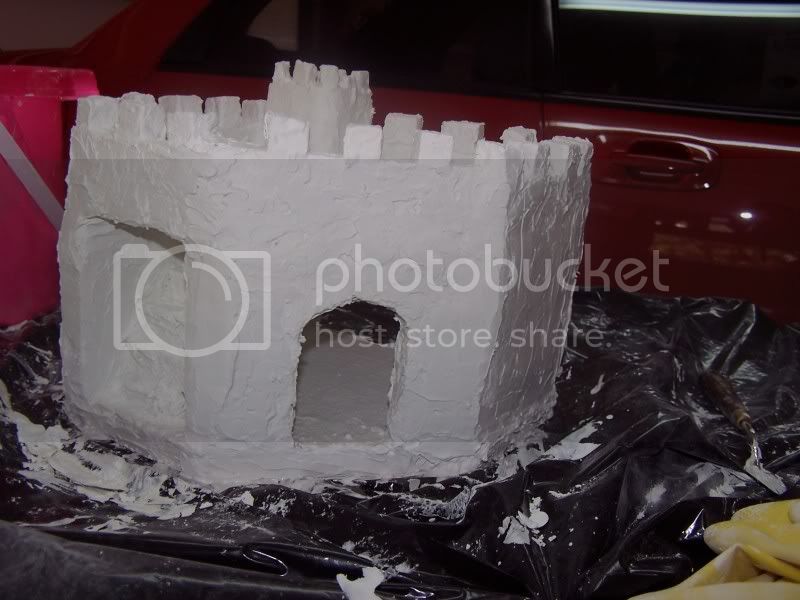
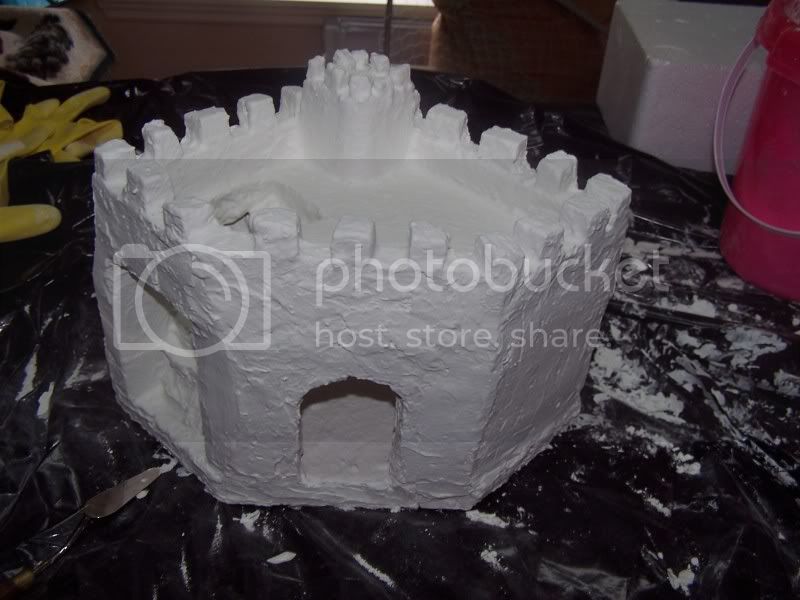
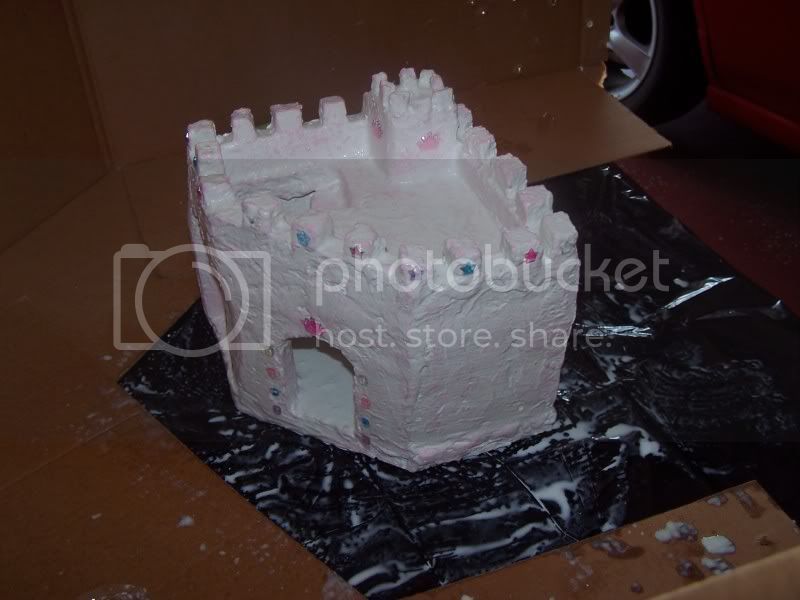
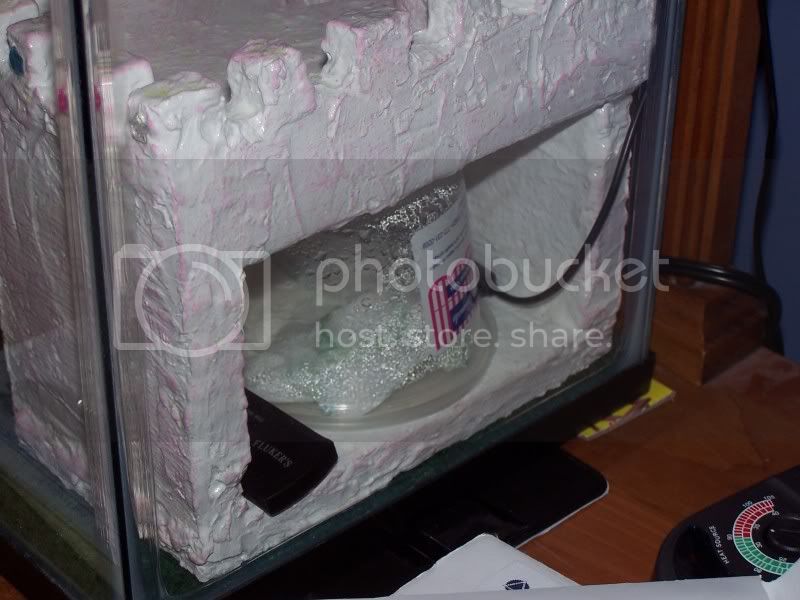
Once you have all the coats of grout on and the desired look, go ahead and let it dry for a good 24 hours. Here is the castle with all it's coats drying.We coated ALL SIDES including the bottom. The bottom you have to do last so you can put it on its side to dry.
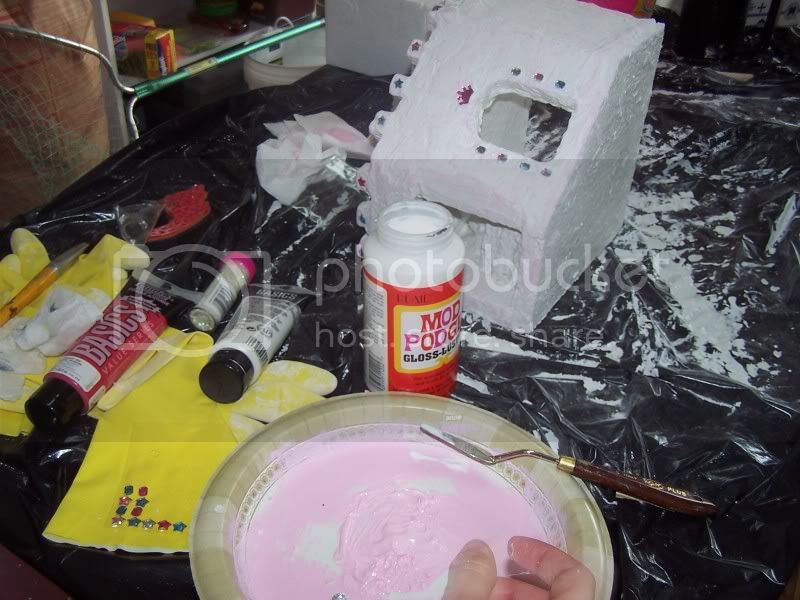
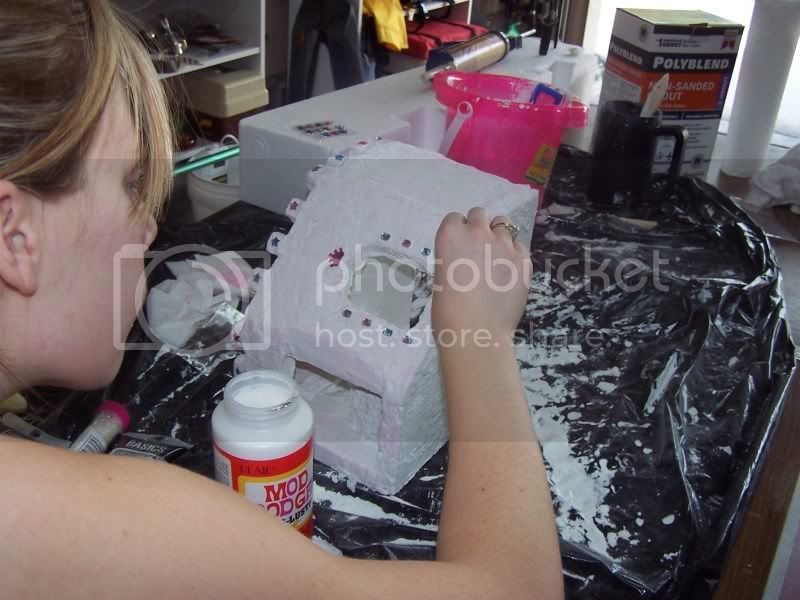
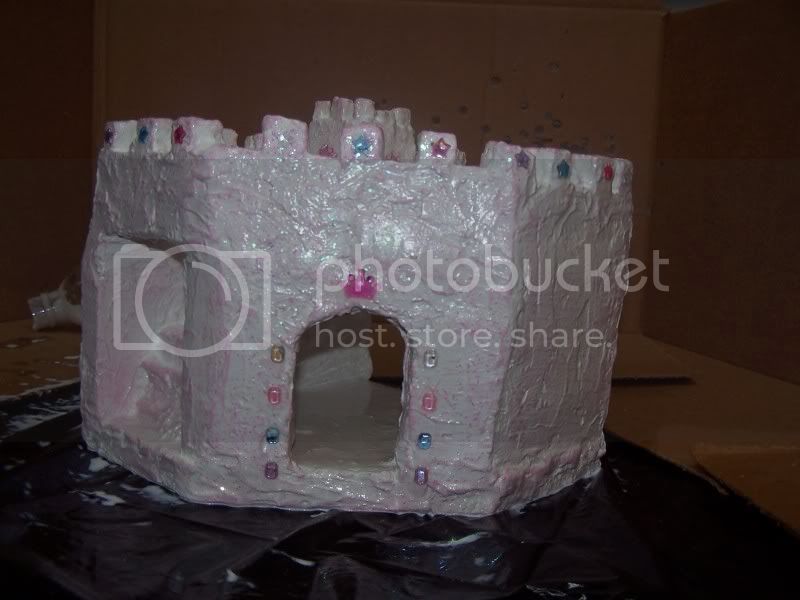
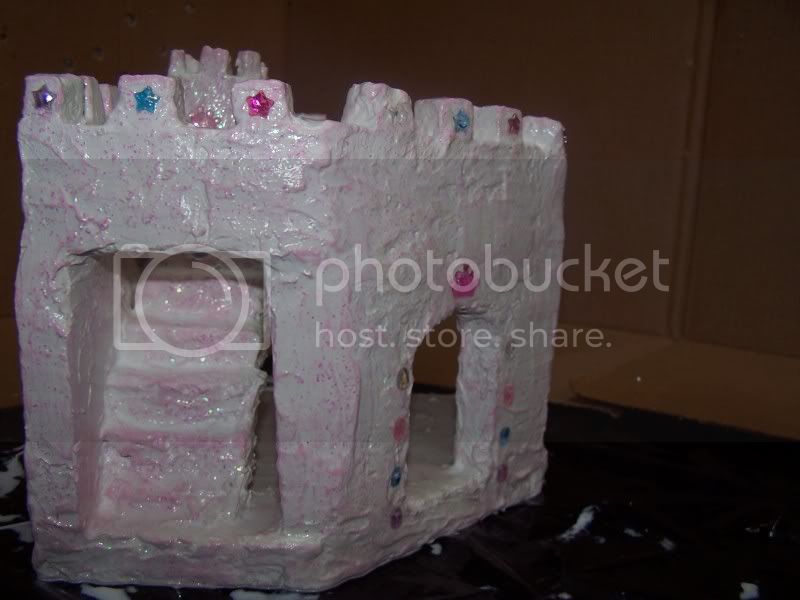
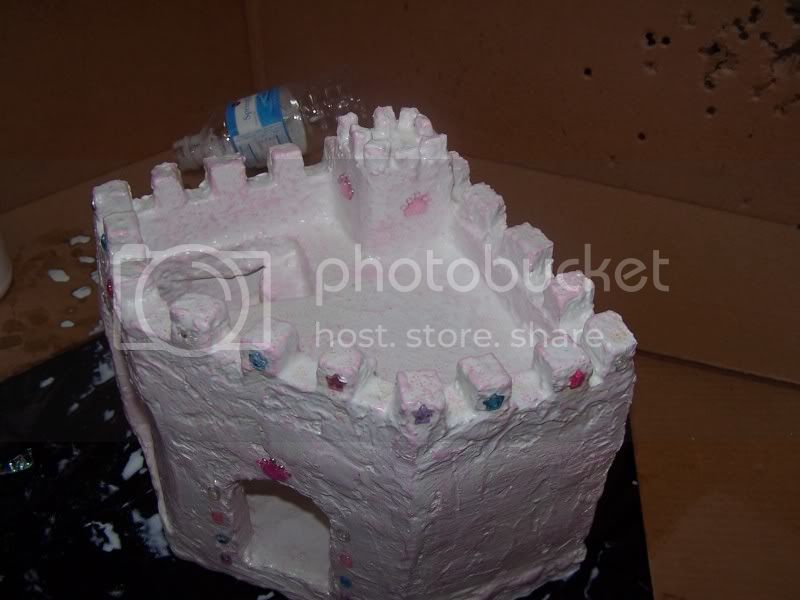
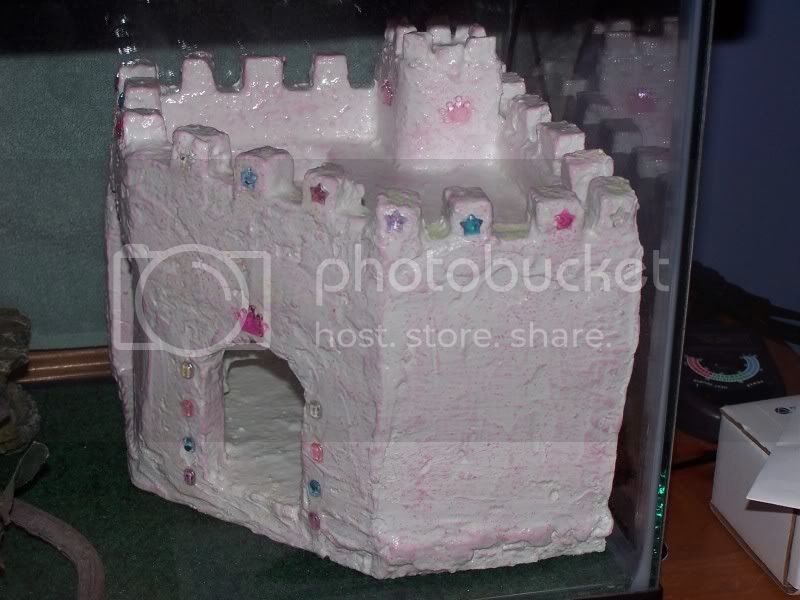
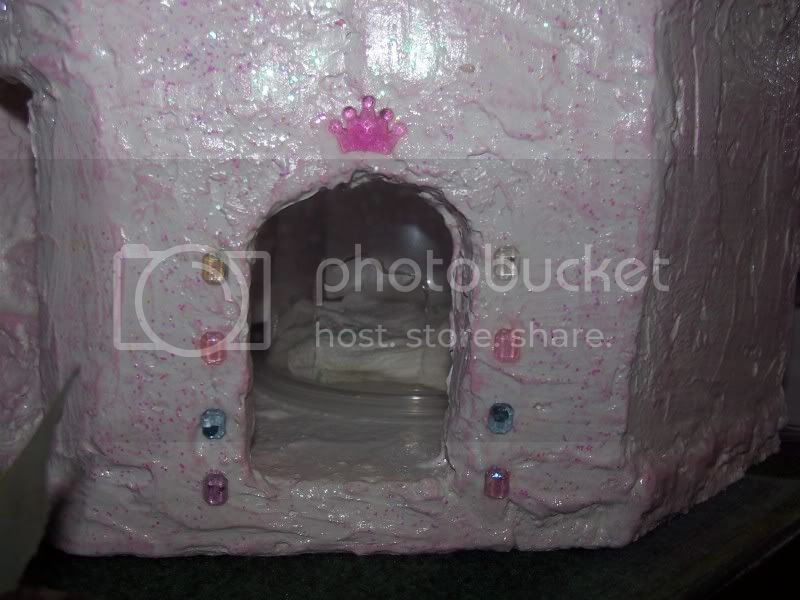
Once the grout was dry we made a nice pink color and LIGHTLY brushed the sides of the castle to get the paint to stick only to the parts that are sticking up. To do this, you have to have barely any paint on your brush. wipe practically all of the paint off the brush. It ended up giving a nice pink look to the castle.We then decided to put some nice little accents like stars and little emeralds. I'm sure you can figure who's idea the colors and accents were.
( We used Mod Podge to glue the accents)
Katelyn putting her skillz to work:
This is with everything MINUS THE MOD PODGE SEALER.
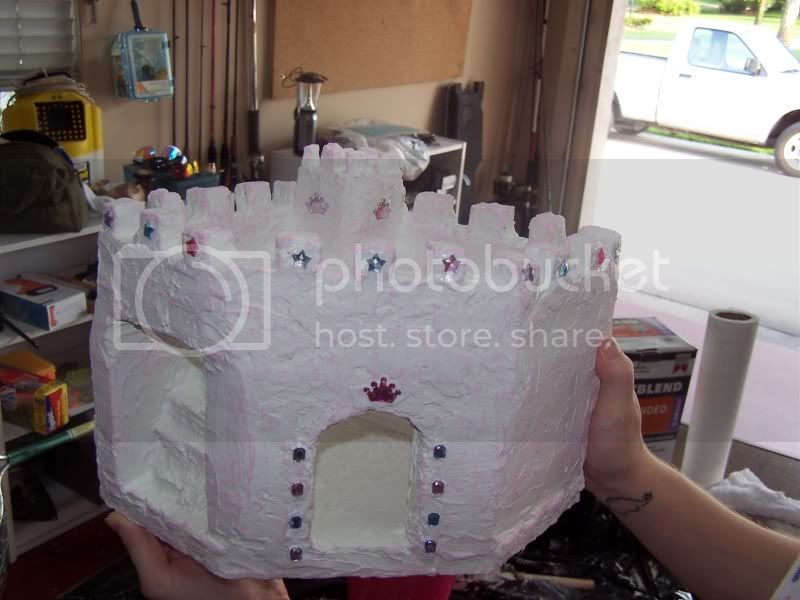
We let it sit over night before starting the sealant coats. We used watered down mod podge in a spray bottle. It works great. We put about 5 coats of sealer all around. We waited about 30 minutes to an hour between coats. This part should only take you a few hours or a day to do. On the 3rd coat we added some glitter to give it a sparkly look when the light catches it.We then let it air dry for 5 days.
Here are the final results!!! In the new tank!
El Castillo De Las Estrellas
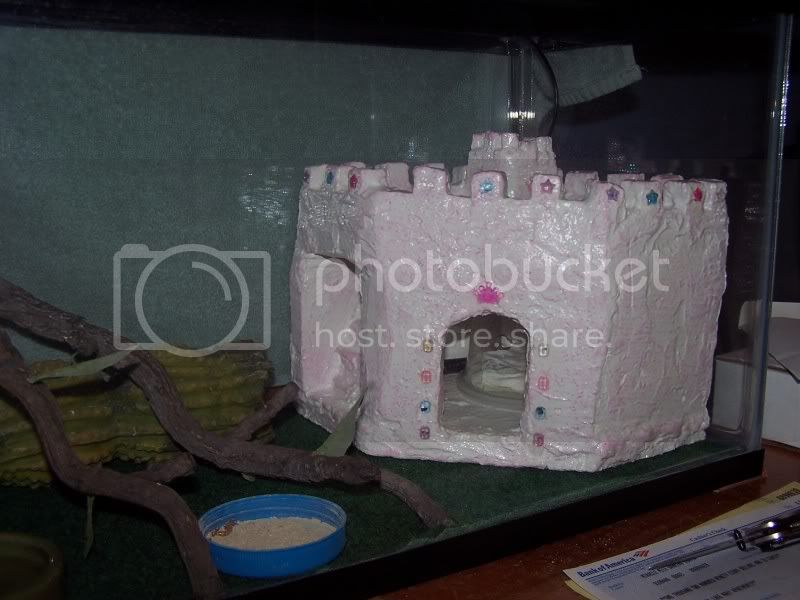
There ya have it!!! Thank you for looking!
Anthony & Katelyn -
With out further adue I give you "el castillo de las estrellas ,which means "The Castle Of The Stars"!
How to build a castle 101-
You will need Polystyrene aka styrafoam that you can find at home depot or lowes and liquid nails cawking to glue the pieces together. We first drew up our floor to fit the tank and then cut out 2 pieces of it (one for floor and one for the ceiling and then added 4 inch high walls. We made two openings, one for the stairs leading to the ceiling for a great view point when hunting and the other to her hide. We also cut pieces to fit the edges of the ceiling for the Merlins to fit on top.
Bare construction with Liquid nails. (go nuts with the liquid nails, you can't use to much).
We let the Liquid nails dry for a few hours before starting the grouting process. We used a non-sanded Bright White grout ( you can use any color or add acrylic paint to get the color desired.) We first started off with a very watery grout mixture to get into all the small crevises. We applied 3 coats of a watery grout.
We then added 2 coats of thick grout to fill up any big gaps and to get rid of connecting lines from the styrofoam. At this point you can start added texture and layering really thick grout to areas you want for added looks.
There I am.
Once you have all the coats of grout on and the desired look, go ahead and let it dry for a good 24 hours. Here is the castle with all it's coats drying.We coated ALL SIDES including the bottom. The bottom you have to do last so you can put it on its side to dry.
Once the grout was dry we made a nice pink color and LIGHTLY brushed the sides of the castle to get the paint to stick only to the parts that are sticking up. To do this, you have to have barely any paint on your brush. wipe practically all of the paint off the brush. It ended up giving a nice pink look to the castle.We then decided to put some nice little accents like stars and little emeralds. I'm sure you can figure who's idea the colors and accents were.
( We used Mod Podge to glue the accents)
Katelyn putting her skillz to work:
This is with everything MINUS THE MOD PODGE SEALER.
We let it sit over night before starting the sealant coats. We used watered down mod podge in a spray bottle. It works great. We put about 5 coats of sealer all around. We waited about 30 minutes to an hour between coats. This part should only take you a few hours or a day to do. On the 3rd coat we added some glitter to give it a sparkly look when the light catches it.We then let it air dry for 5 days.
Here are the final results!!! In the new tank!
El Castillo De Las Estrellas
There ya have it!!! Thank you for looking!
Anthony & Katelyn -
