leecop1000
New Member
- Messages
- 1
how do you set up the thermostat heat tape probe etc????
Wow, that is Awesome!Hi every one, I'm doing this because I've seen the question asked so many times..."does anyone have directions on how to build my own rack?" So I put this little step by step guide togeather for everyone. This is the most basic, and cheapest way to build a rack. Man is it easy if you can work a saw, you can do this, i have faith in all of you. I did not include a list of supplies because it will vary depending on what you want and how big you want the rack to be. In these directions I built a baby rack, it holds 21, 6qt containers. So all you need to do is expand upon these derections.
First thing, dicide what size containor you want, and how many. I would'nt recomend going more than 3 across, to meny can cause the shelfs to bow.
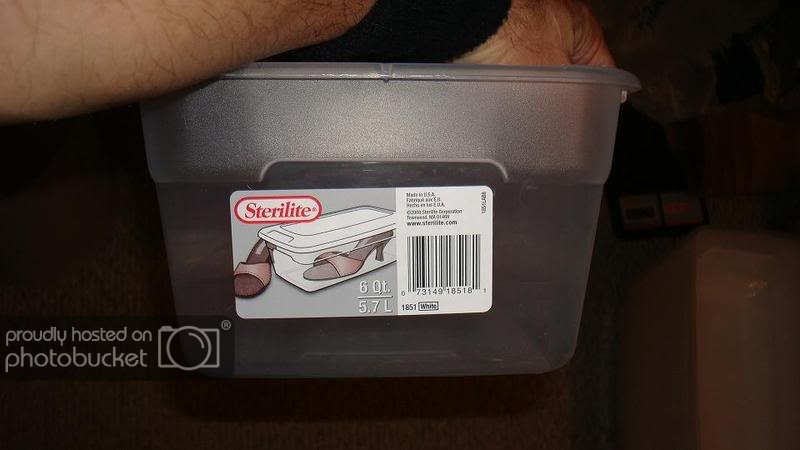
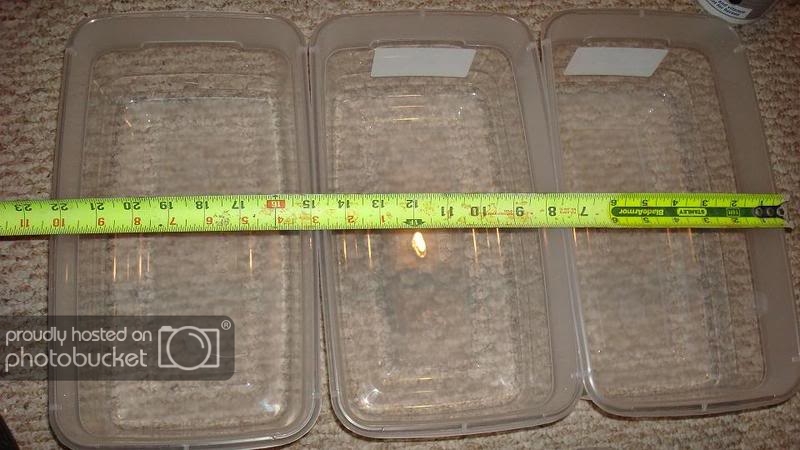
Next make messurments to know how big each shelf needs to be. I messured and added an extra 1/2" to the exact messurement, giving me a 22 3/4" messurment.
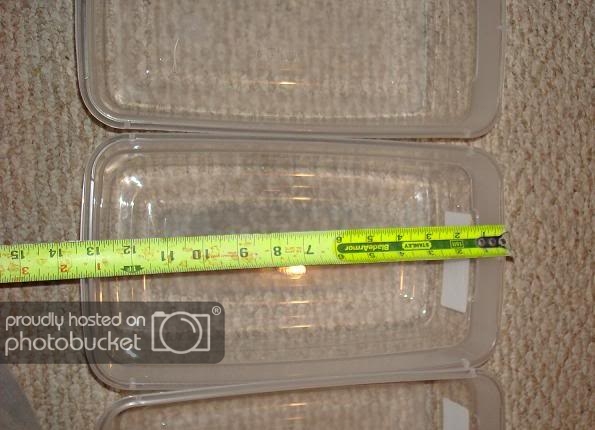
Front to back is 13 1/2" so i made the shelfs 14".
From the top to bottom we will need 8 shelfs including the "floor" panel. All of them are 14" X 22 3/4".
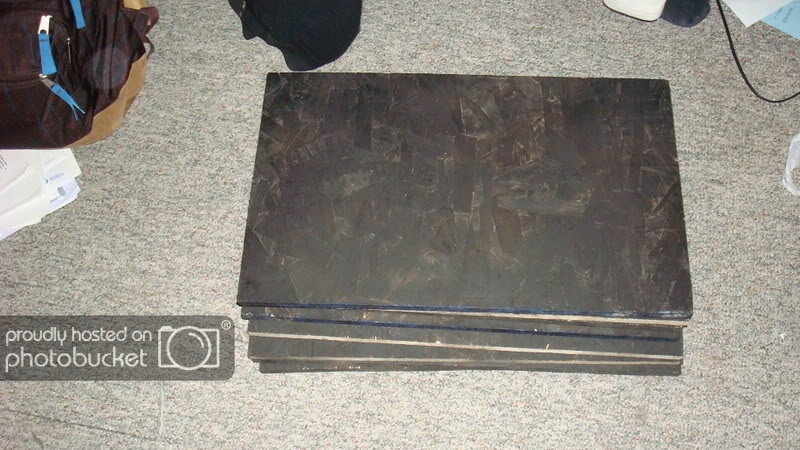
Next dicide how fancy you want the rack. As I said this is the cheapest and most basic way so instead of using full sides I am only using 2" strips.
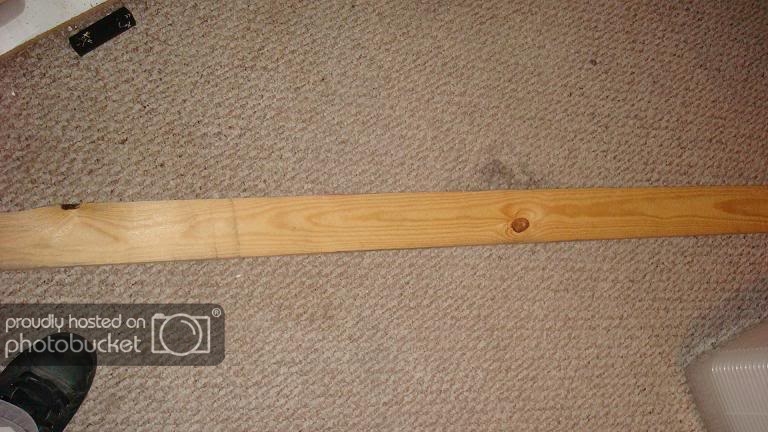
You will have to figure out how tall the rack will be by measuring the hight of the containor, and the thickness of the boards you will be using. The mesurment that I got 37 1/2" high becuase I am using 3/4" CCB (compressed chip board). I cut the side strips a couple inches bigger just incase I made a mistake with my messurments.
(Optional) paint the rack. I painted this one black just because it is a good, proffesional color.
Next attach the 4 srips (or full sides depending on what you want) to the bottom peice.
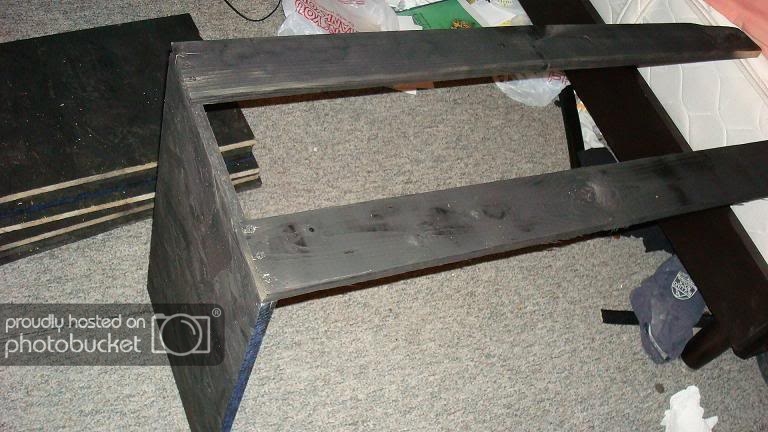
choose the side that you will have the heat tape wired one and give your self 4" from the back of the shelf to the back strip.
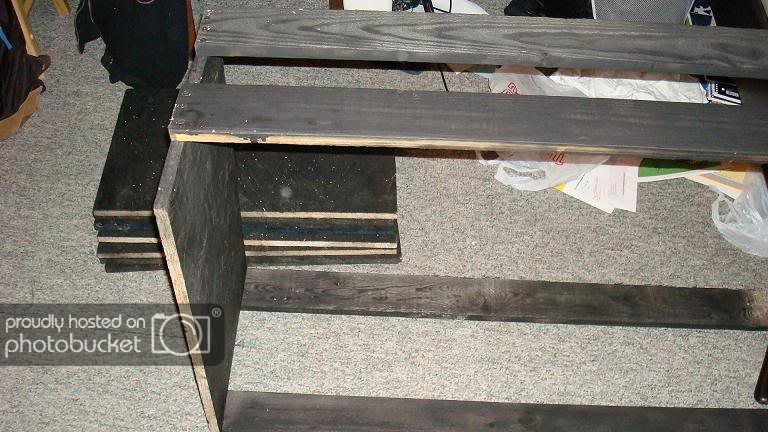
Stand the rack up and place 3 containors on the bottom pannel and place the next shelf ontop of the containors to insure you have a snug but not too tight of a fit. Screw the second shelf to the strips. These 2 pictures are from the back of the rack.
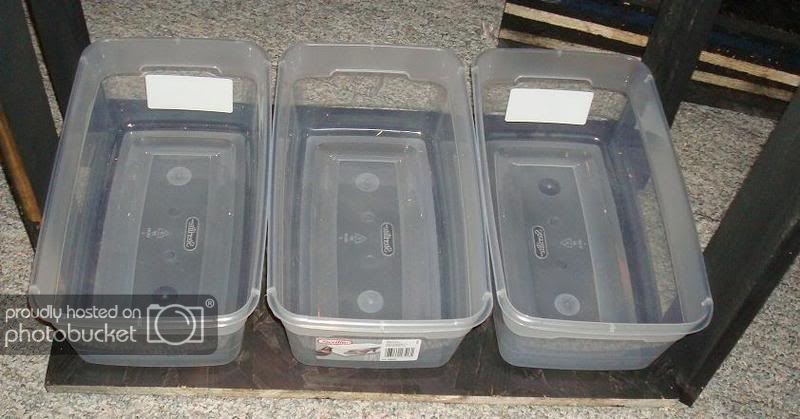
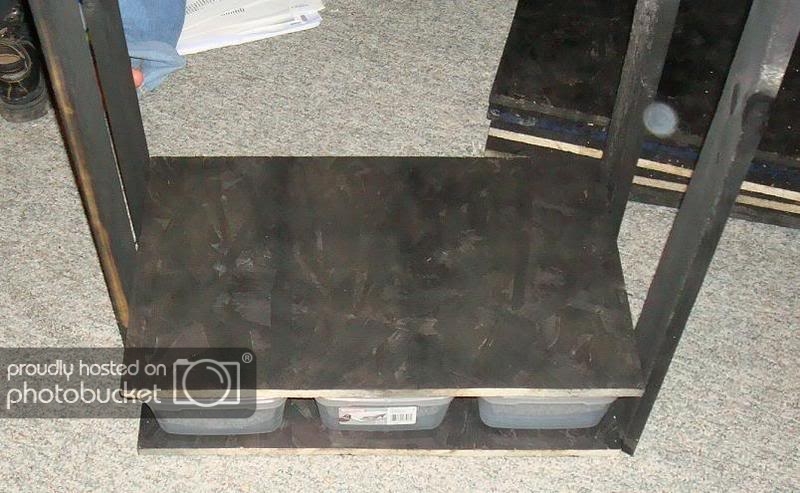
Repeate this step for how ever many shelfs you have.
(almost finished!!!!)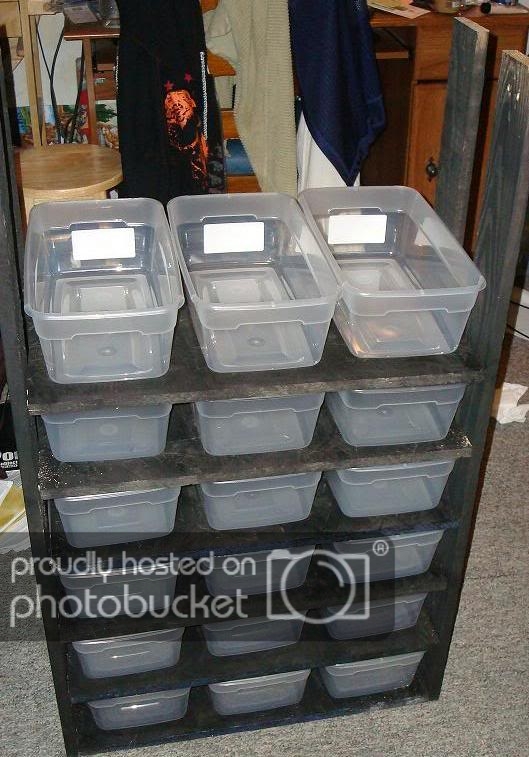
Once all the shelfs are attached you should have some extra left on the srips (of again, as I said a full side).
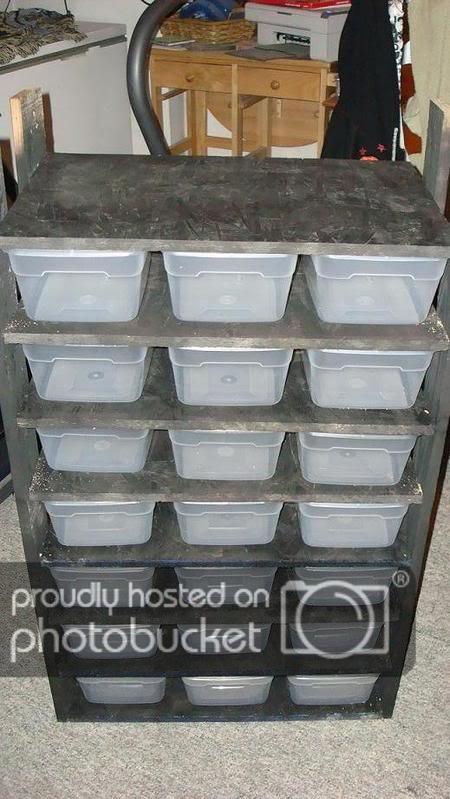
Use a jig saw to cut these off.
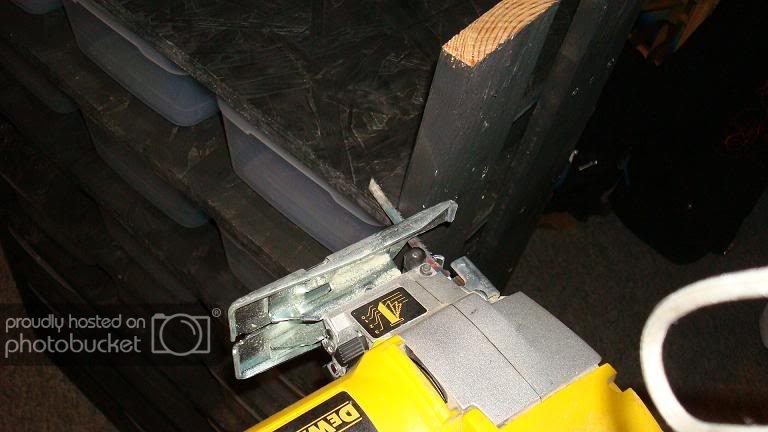
Finally all the building will be finshed
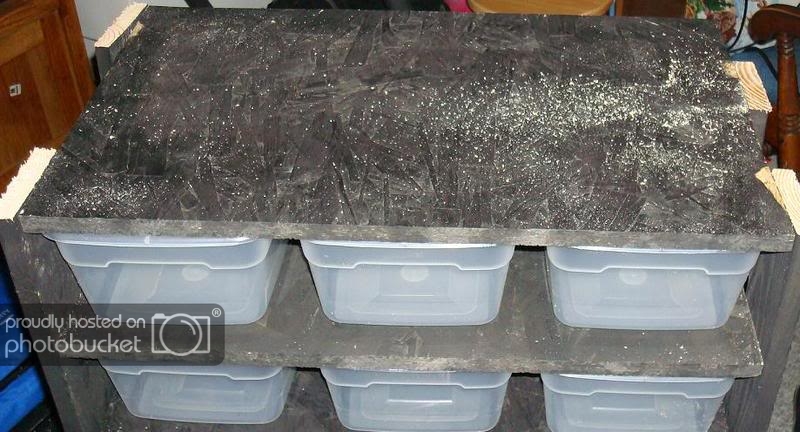
You can take what ever paint you have left and tuch up any spots that you may have missed or nicks or cuts that you may have made.
Make sure you put breathing holes in each containor.
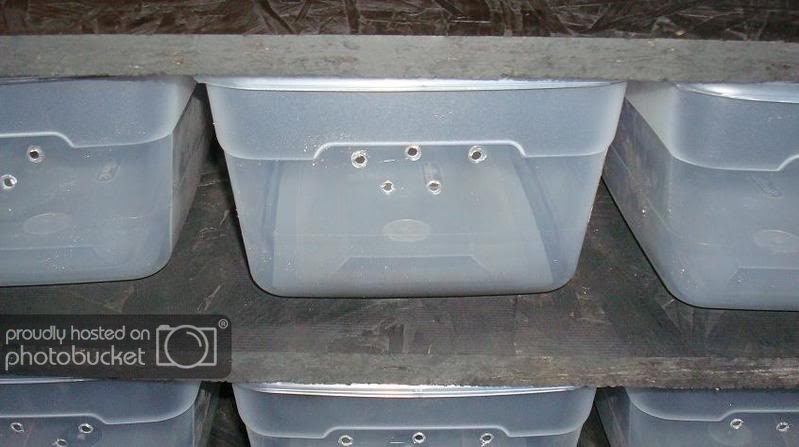
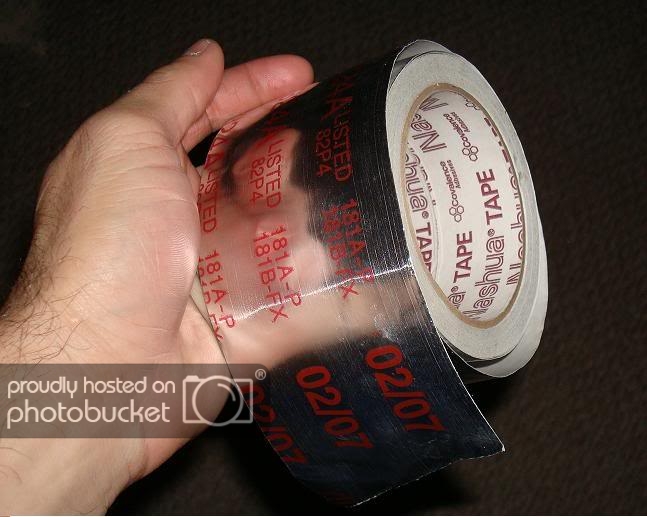
Attach the heat tape or cable with thermostat and your ready to house so Herps!!!!!! I like to hold the heat tape down with a type of HVAC fiol tape.
Other vareations include adding backing to make sure you dont push the containors to far back or full sides (already mentioned). If you are going to build this for snakes make sure you use another type of building material such as melamine. It is the same thing that kitchen countertops are made of and is water resistaint. CCB, MDF, and partical board are not good in high humidity conditions.
I hope this comes as a help, and I am open for questions if you dont understand something particular.
good luck :main_thumbsup:
Nevin Moyer
AKA....Nev
No, it shouldn’t. A thermostat should be used, to prevent overheating.Wow, that is Awesome!
I'm still a new gecko parent so dumb question here but if the housing container is plastic - doesn't the heat warp it or make it leach out chemicals when heated? Sorry, I tried to look this up myself but... no luck.